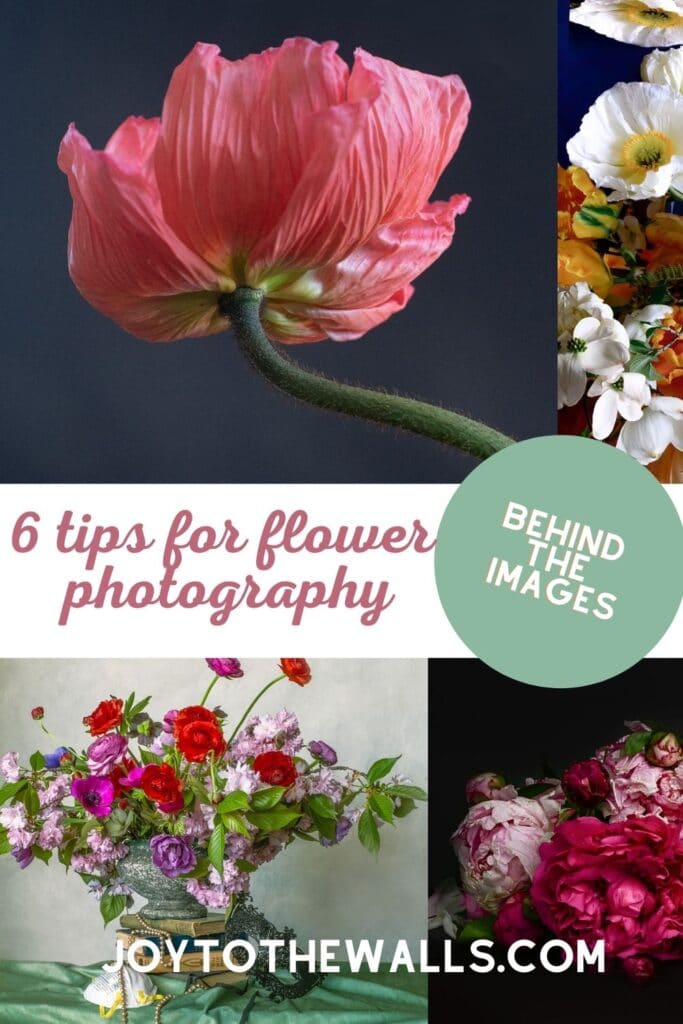
Tips for photographing flowers (or a few things I learned the hard way so you don’t have to)
One of the things I love about photography is there is always something to learn. No where have I found this to be more true than when it comes to photographing flowers. I never took a serious photograph of a flower until March 2020. (Humm… I wonder why this is? ;)) Since then, you could say I’ve become a bit obsessed for a few months for three Springs running.
This tips are geared towards photographing cut flowers using natural light, although most all of it still applies if you are using a strobe or LED. Even if you’re photographing flowers with a smartphone, you’ll be able to get some great shots with the time investment and patience!
It may go without saying, but light is everything. Place your flowers by a window and watch how different light falls on them throughout the day.
- Take at least one floral arranging class, especially if you’re a total flower newbie. You won’t be ready to take on a wedding, but you’ll have come a long way on the high learning curve, and likely come home with a gorgeous floral arrangement to enjoy and play with. Try to take one that will be using the flowers you want to work with.
- Collect supplies ahead of time. It makes things go more smoothly if you’re prepared to change things up a bit, once you start shooting. Here’s my list: green and clear flower tape and putty, vases, pin frogs, flower scissors or shears, big bucket for keeping flowers you aren’t using in a given shot.
- Decide what materials you want to use to give your arrangement structure. Floral tape, putty, pin frogs, chicken wire, and old fashioned floral foam, or some combination thereof, are all options. As a photographer you have the advantage that the whole “arrangement” doesn’t necessarily have to be perfect for any single shot, but it will help to have some options as you tweak things along the way. Chicken wire is a most environmentally friendly choice and to me has the additional advantage of being both malleable and reusable. I have several cut versions I put on repeat and use again and again. I often use chicken wire in combination with my new collection of pin frogs.
- Visualize how you want your final images to look and work backwards from there. Determine if you want to work on a certain style or color of backdrop. What is the overall mood? (I suggest using a white bounce board to raise up shadows a bit if overall mood is dark.) Is the shot more macro (close up) or micro (not so close up)? Consider composition and what you want to be in sharp focus. Will you need a tripod or any artificial light? What settings are best given the image you want to achieve? This Spring I’m shooting for future compositing, an aesthetic will ideally be adhered to from shoot to shoot.
- Buy or gather a few more blooms than you think you need. An extra stem or two comes in handy for filling in inevitable gaps in an arrangement that happen every time you change your POV. Don’t be afraid to man-handle the blooms a little to get the shot you want. Pluck off leaves, petals, and get comfortable bending them around. If you’re lucky you’ll have a few blooms left to enjoy, but if you don’t, you’ll at least gotten the shot!
- Play with your flowers! I cannot emphasize enough how much I learn every time I photograph flowers. And this involves both time and play! It turns out that flowers don’t necessarily look their best on our schedule. Place them by a window and watch and capture how light falls on them at different times of day. It’s a work in progress. I promise that taking the time to observe and photograph your flowers in different lights, and even in various states of bloom and decay will be rewarding. An image can also take on an entirely different quality just by shooting from a different angle.
Do you find these tips for photographing flowers helpful? What are your experiences with flower photography?

Leave a Reply